After understanding the materials and heights of keycaps, let's take a look at the third most important element in custom keycaps—manufacturing processes. Ever wondered why some keycaps look like they survived a coffee apocalypse while others fade faster than your New Year’s resolutions? It’s all about the printing magic! Let’s dive into the wild world of keycap manufacturing—where science meets art, and durability battles budget. Buckle up; this ride’s gonna be lit (and SEO-friendly for Google’s bots, too).
1. Double-Shot Molding: The “Unkillable” Legend
Imagine a plastic Yin-Yang love story. Double-shot molding uses two colored plastics molded together—like a cozy couple that never splits. The legend? These legends (the characters) never wear off because they’re part of the keycap’s soul .
Pros: Bulletproof durability, seamless texture (no bumpy feels!), and vibrant colors. Perfect for gamers who mash keys like they’re playing whack-a-mole.
Cons: Costs more than a fancy latte. Each key needs a custom mold, so complex designs? Nah, keep it simple, folks .
Best for: ABS keycaps (soft touch!) and minimalist designs. Think of it as the “little black dress” of keyboards.

2. Dye-Sublimation: The Picasso of Keycaps
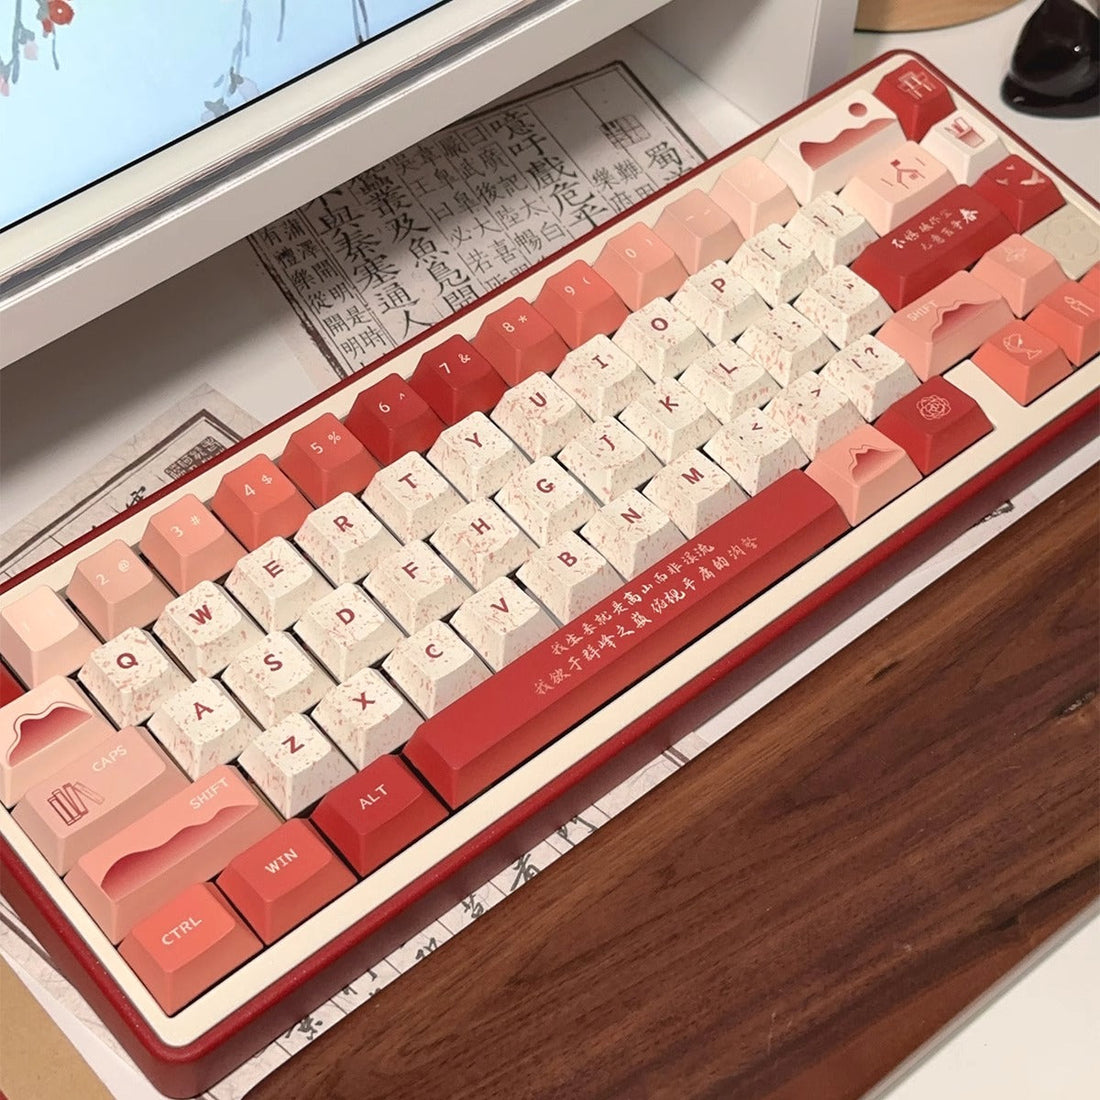
Want a rainbow explosion or a galaxy on your spacebar? Dye-sublimation is your genie! This sorcery uses heat to vaporize ink into PBT plastic, creating colors so deep they’d make Van Gogh jealous .
Pros: Fade-proof art, even on curved surfaces. That Office Banana Keycaps with 5-sided prints? Pure magic .
Cons: Costs a kidney (okay, maybe just $100+). Also, dark keycaps + dark ink = sad invisibility cloak vibes .
Best for: PBT keycaps and maximalists who think “subtle” is a dirty word.

3. Laser Engraving & Silk Printing: The Budget BFFs
These two are like the fast-food combo of keycaps—cheap, quick, but not exactly gourmet.
Laser Engraving: A laser etches characters into the keycap. Feels slightly gritty (like sandpaper flirted with your fingertips). Downside? Dust loves those grooves .
Silk Printing: Ink screen-printed on the surface. Feels smooth… until it rubs off like a bad tattoo. Pro tip: Avoid if you’re a heavy typer .
Best for: Membrane keyboards or folks who change keycaps more often than socks.
4. Resin Artisan Keycaps: The Handmade Unicorns
Craving a miniature Eiffel Tower or a Pokémon trapped in plastic? Resin keycaps are DIY heaven. Artists layer epoxy resin with pigments, glitter, or even tiny figurines—each cap is a pocket-sized masterpiece .
Pros: Uniqueness overload! Perfect for showing off at keyboard meetups.
Cons: Durability? Let’s just say… handle with care. Also, your wallet might sob .
Best for: Esc keys or Enter keys that scream “LOOK AT ME!”
5. UV Coating & Pad Printing: The Underdogs
UV Coating: Adds a glossy shield over prints. Feels like a screen protector for your keycaps. But peel it off, and the ink goes with it .
Pad Printing: Uses silicone stamps for crisp logos. Great for brand logos (like ikbc’s), but longevity? Meh .

Final Thoughts: Be a Keycap Wizard!
Whether you're a gamer, a designer, or just someone who appreciates beautiful things, there's a keycap manufacturing process that suits you perfectly.
Budget warriors: Laser/silk printing.
Durability addicts: Double-shot.
Art geeks: Dye-sub or resin.
Now go forth and make your keyboard the envy of the (Asia-Pacific & Western) world! ✨


