
Hey future clacksmith! If you're here, you've likely been hypnotized by YouTube sound tests or fell into a Reddit hole labeled "thock vs. clack." Relax—building your first custom keyboard is easier than explaining TikTok trends to your grandma. Let's turn that confusion into a functional (and ridiculously satisfying) typing machine.
Step 1: Size Wars-Pick Your Layout
Keyboards come in more sizes than conspiracy theories. Ask yourself:
Do you need a full-sized board (with a numpad for calculating pizza-to-person ratios)?
Craving minimalism? Go 60% (small enough to accidentally mail in an envelope).
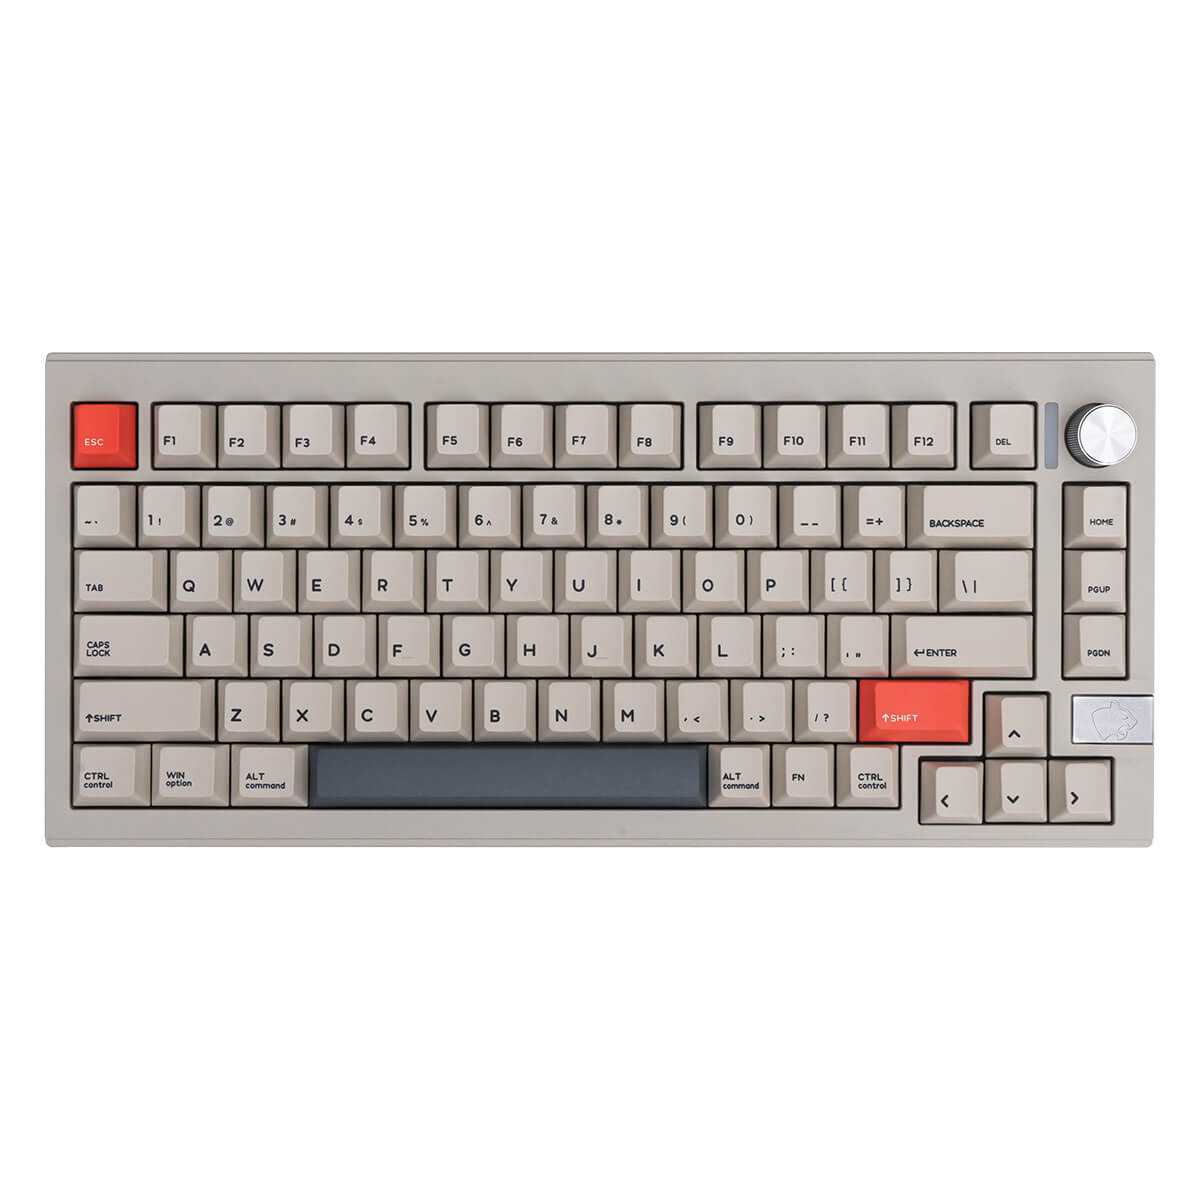
The 75% or TKL (TenKeyLess) layouts are Goldilocks-approved—compact but not cruel to arrow key lovers.
Pro tip: Your layout choice directly impacts desk real estate. Choose wisely unless you enjoy playing Tetris with your coffee mug.
PICTURE1-87%keyboard
Step 2: Switches -The "Are You Team Silent Assassin or Chaos Goblin?" Test
Switches are your keyboard's personality. Think of them as Hogwarts houses:
Linear switches (Reds/Yellows): Silent but deadly. Smooth as a buttered otter. Ideal for gaming or passive-aggressive office typing.
Tactile switches (Browns): Gentle bumps, like typing on a cloud made of bubble wrap. For people who want feedback without summoning demons.
Clicky switches (Blues): The mariachi band of switches. Perfect for asserting dominance in shared spaces.
Bonus round: Try lubing them later if you want a sound smoother than a ASMR podcast.

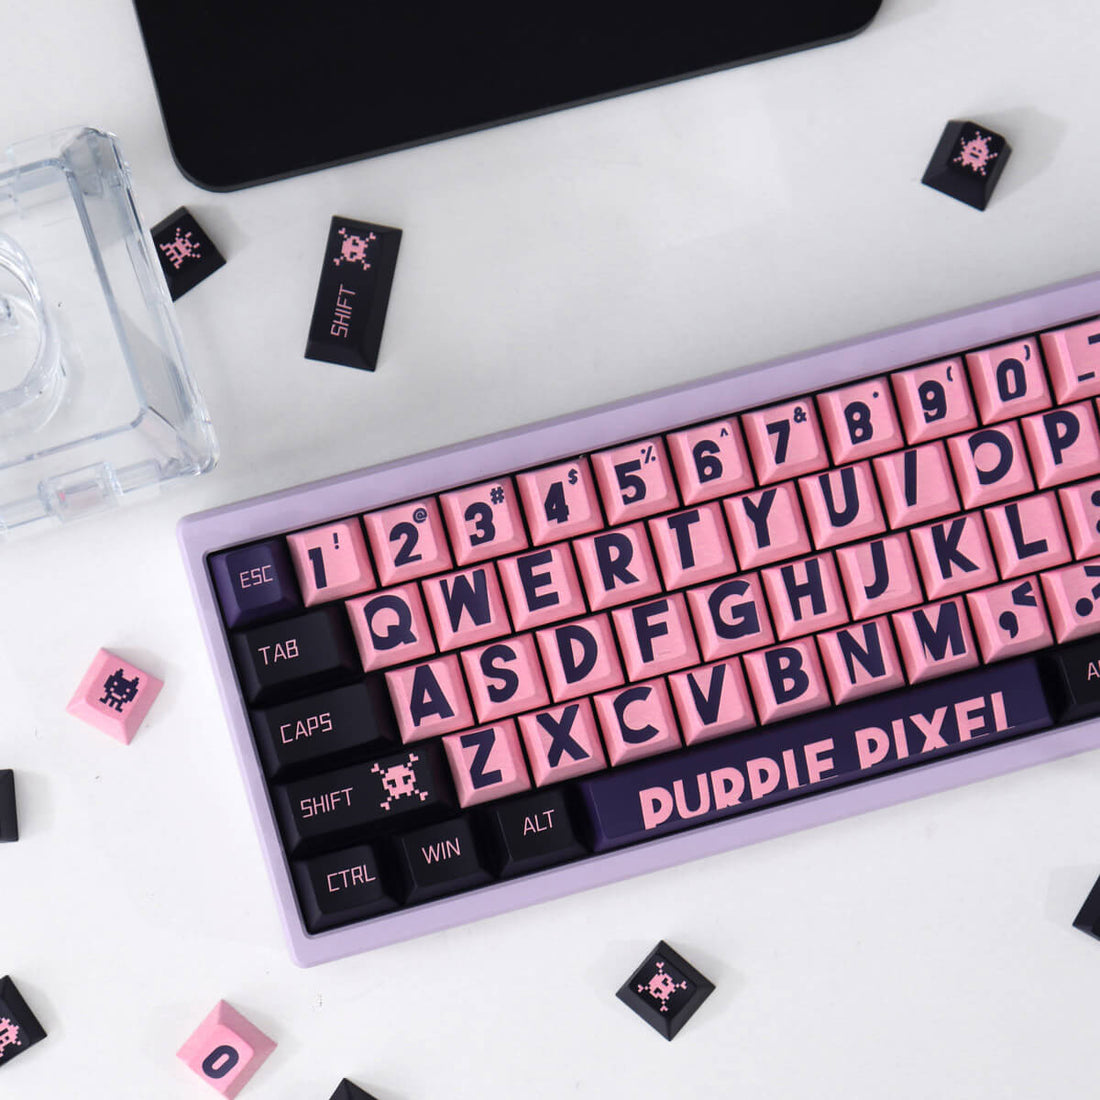
Step 3: Keycaps -Your Keyboard's Fashion Show
Keycaps are where function meets "I spent 3 hours picking this colorway." Rules of thumb:
Material matters: PBT > cheap ABS (unless you enjoy shiny, greasy-looking keys).
Profiles: Cherry (low-rise dad shoes) vs. SA (stiletto heels for your fingertips).
Legends: Side-printed if you're a touch-typing ninja; pudding caps if RGB is your religion.
Pro move: Buy a novelty "ANY KEY" cap. Because why not?

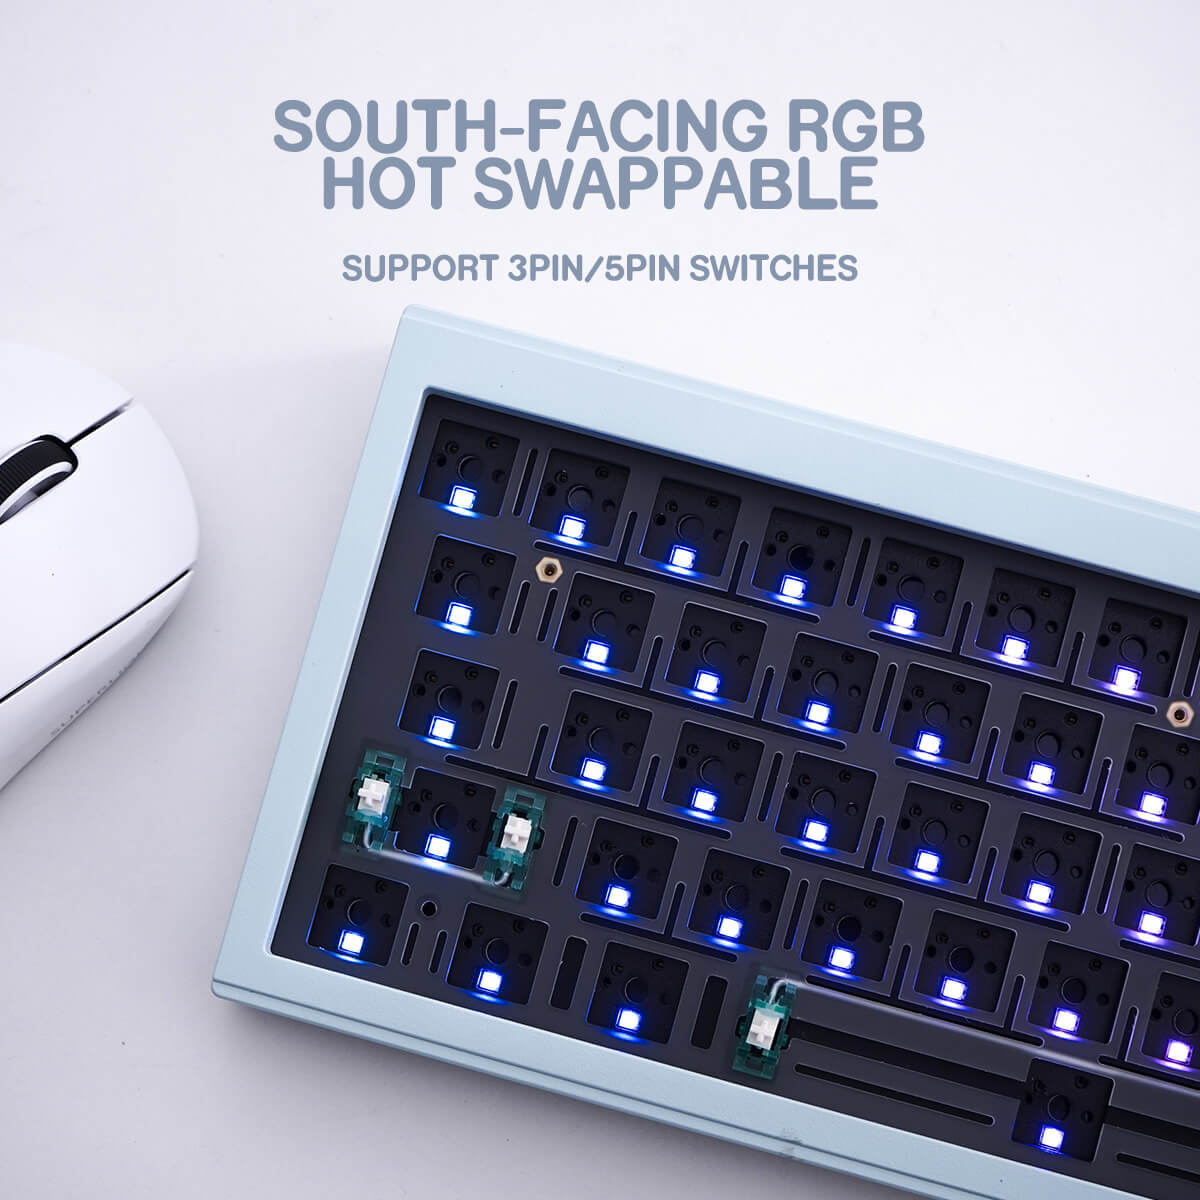
Step 4: Assembly -The "IKEA Manual Meets Mad Scientist" Phase
Time to assemble your Franken-board! Most kits include:
A PCB (the keyboard's brain)
A case (its fancy exoskeleton)
Stabilizers (the unsung heroes that keep your spacebar from sounding like a rattlesnake)
The cheat code:
Lube stabilizers unless you want your spacebar to audition for a maraca solo.
Plug switches into the PCB like you're playing Operation (no sudden moves).
Snap keycaps on gently—this isn't Whac-A-Mole.
When in doubt: Watch a tutorial at 0.25x speed and pray to the keyboard gods.

Step 5: Personalization -Where You Channel Your Inner Picasso
This is where your board becomes yours:
RGB lighting: Turn your desk into a rave cave. Sync it to your heartbeat if you're extra.
Artisan keycaps: Replace your Esc key with a miniature cheeseburger or glowing skull. Productivity hack? Absolutely.
Cables: Get a coiled cable so fancy it deserves its own Instagram account.
![]()
Final Boss: The "Wait, Why Do I Suddenly Own 14 Keyboards?" Revelation
Congratulations! You've entered the hobby's danger zone:
Budget tip: Start with a $100-150 hot-swap kit. Avoid "just one more switch tester" unless you want a drawer full of plastic rectangles.
Join the cult: Reddit's r/MechanicalKeyboards is 10% advice, 90% people arguing about lube viscosity.
Embrace the chaos: Custom keyboards are like tattoos-your first one won't be your last.
TL;DR: Building a keyboard is 20% skill, 80% muttering "Where's that spring noise coming from?!" But with patience and a sense of humor, you'll craft something that makes every keystroke feel like a high-five.
![]()
Now go forth and thock responsibly! And stay tuned for the next guide, where well break down the basics of mechanical keyboards in easy-to-understand terms—no jargon, just the good stuff you need to know to get started.
댓글 2개
PirojokteDay
darknet drug store darkmarket 2025
🖋 Message; Transfer NoFK99. GET => https://telegra.ph/Binance-Support-02-18?hs=3fe9dd34931dfe3ab2b1f7e3a4f931ba& 🖋
pwec3s